
How to Build a Raised Bed Planter on a Budget- Part 2 Construction
Now that you know a little bit about these planters let me explain how the are constructed.
Materials required:
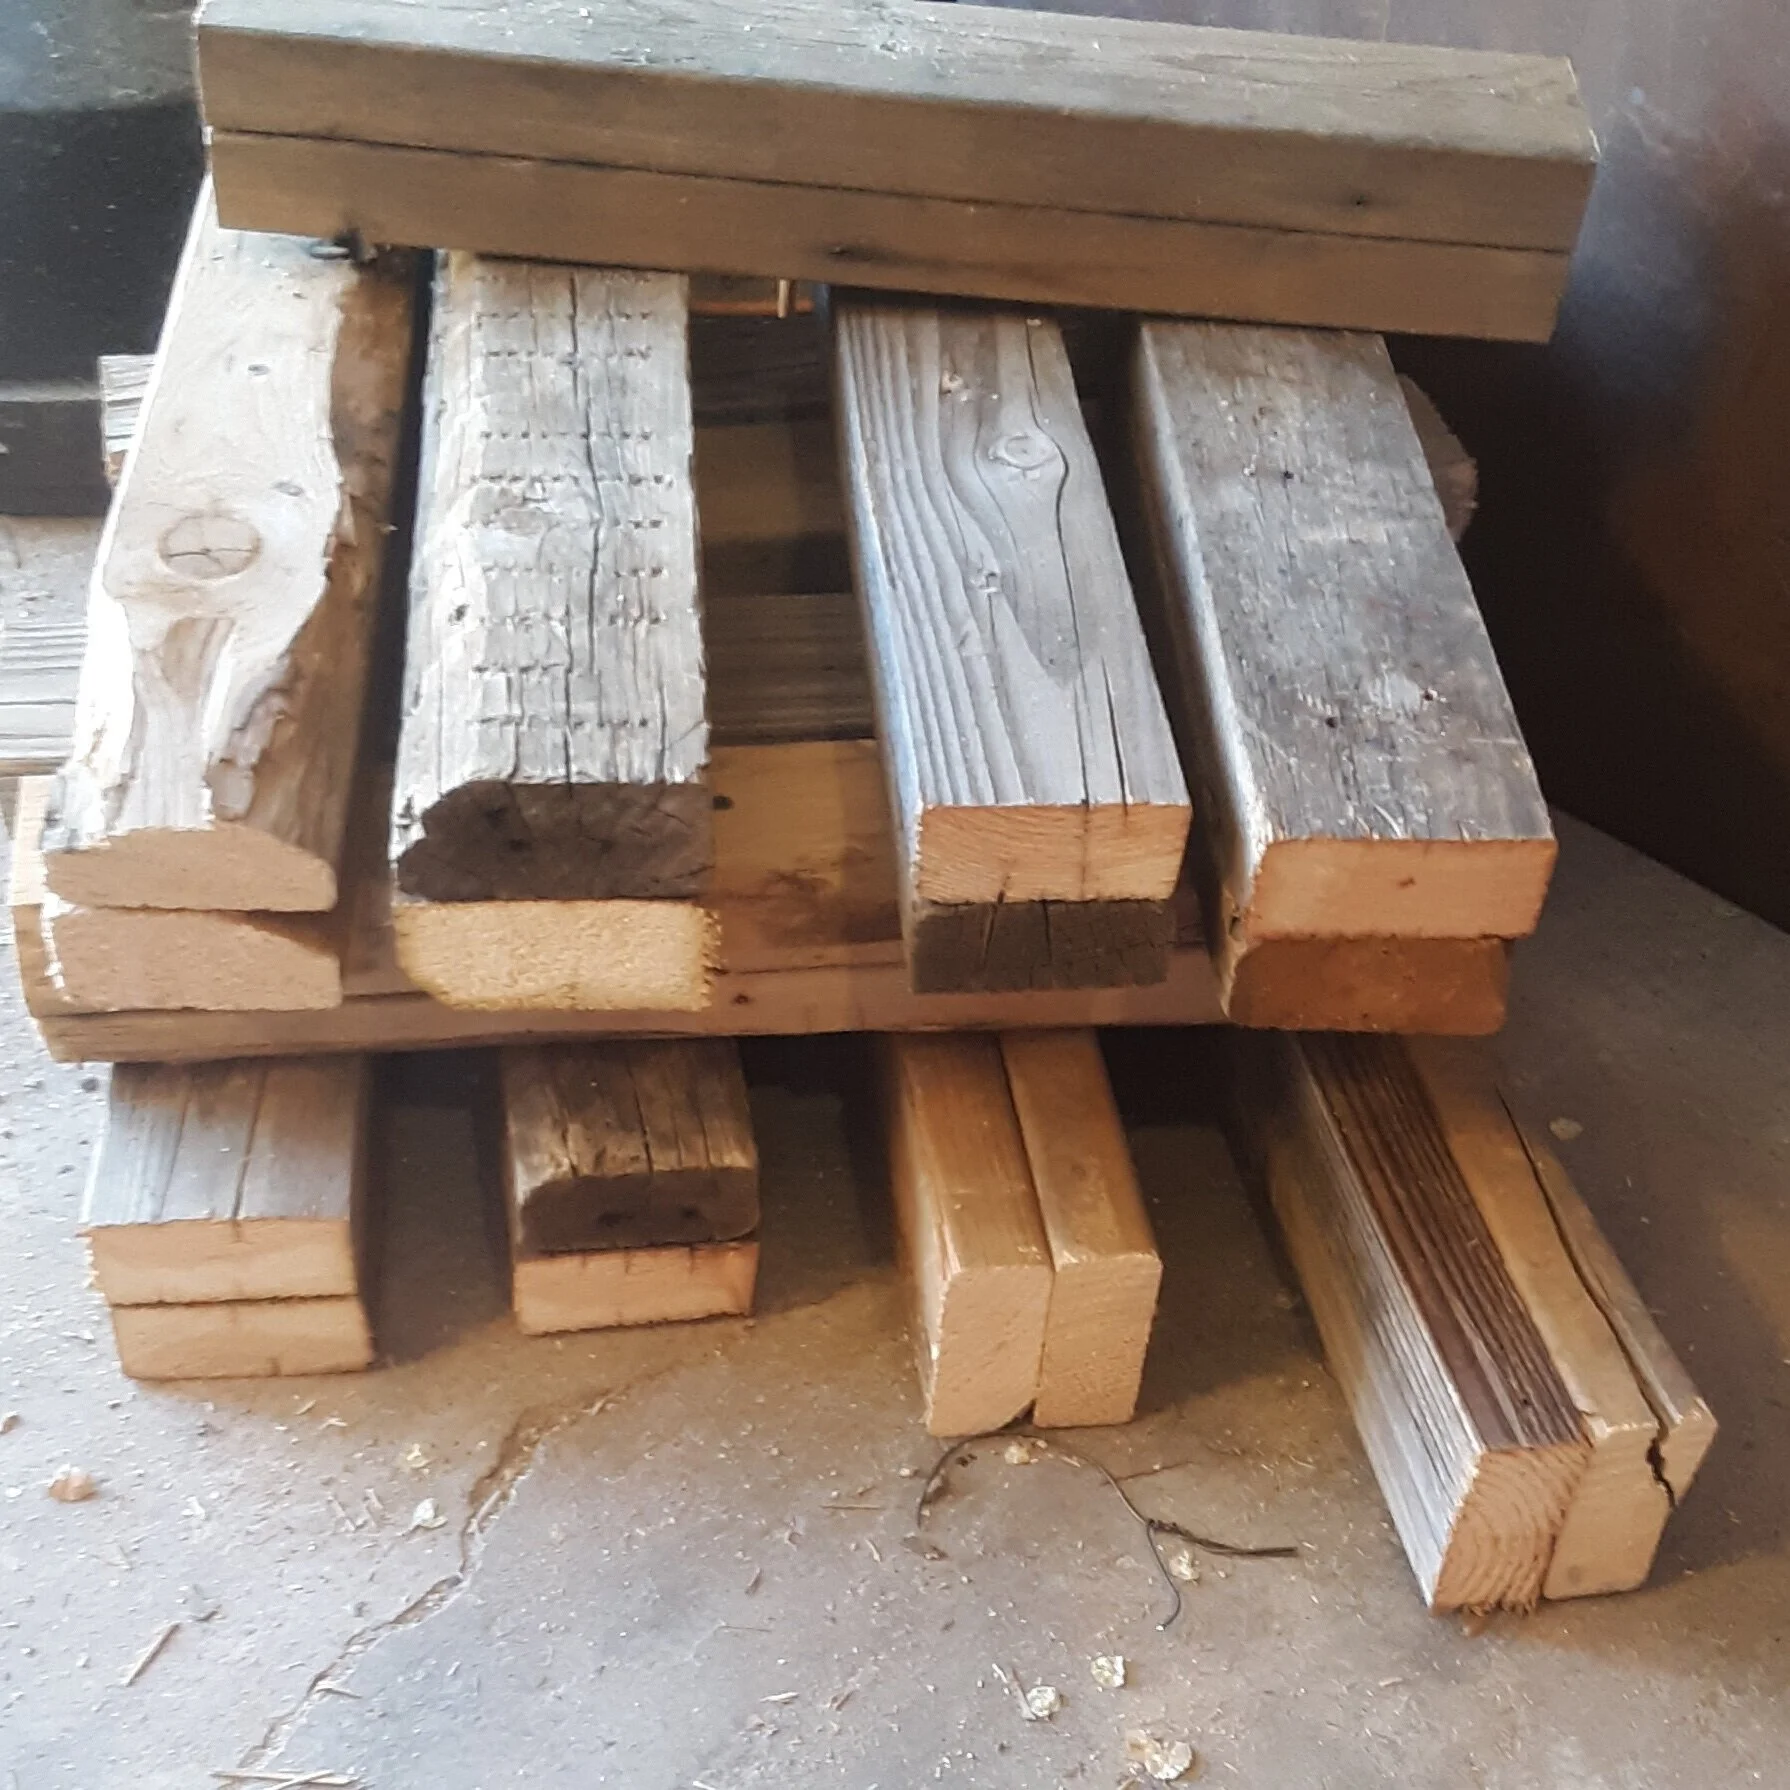
• reclaimed wood (2x4 or 4x4),
• reclaimed corrugated steel
• SCREWS (1-1/4” & 2”)
Tools used:
• electric screwdriver
Construction is pretty straightforward and easy. Choose a flat level surface or workbench for assembly process.
(step 1)
· Place corner post on edge of panel , check alignment and affix with screws.

· Repeat process for 2nd panel
(step 2)
· Stand panel with corner post affixed upright
· Position 2nd panel ( with no corner post (BARE STEEL PANEL) and attach with 1 screw.

· Check alignment, adjust if needed and attach 2nd screw
· Position the other panel with wood corner post on opposite end and affix in same manner as before
· When you have at least 2 screw in each corner you can attach last panel (bare steel panel) adjust panel alignment if needed.
· Screw in remaining screws
(step 3) Flanging
Flanging the top edge ( forming a 90 degree lip) adds strength , eliminates panel edge “bowing” and removes any potential sharp edges.
· Use an adjustable spanner (aka Crescent Wrench) as your flanging tool.
· Sit inside the planter with a stool or small chair
· Bend the edge down about 1/4”, move tool 1-2” down and repeat.
· Making about (4) passes in this manner you will gradually bend, a ½” edge down, facing inward towards the planter
· Reapeat this for the 3 remaining sides
(step/ 4) Moving & Installation
· ON LARGER PLANTERS- Use 2 ratchet straps and attach around opposing ends, adjust straps to use as shoulder straps or grab straps.

· ON SMALLER PLANTERS- stand inside planter, gently and firmly grab and lift planter sides, lift and carefully walk into specified placement.
If you would like to see how we paint and customize these planters- check out Part 3